DIY Wall Frames
Every blank wall is a story waiting to be told. I’ve turned many living spaces into personal sanctuaries. DIY wall frames let you show off your journey through creative displays.
DIY home decor brings life to your space. It doesn’t matter if you’re a pro or a weekend crafter. Custom wall frames can make any wall special, showing off your style.
In this guide, we’ll show you how to make stunning DIY wall frames. They’ll not only make your home look great but also tell your story. You’ll learn about picking materials and designing layouts that grab attention. Get ready to transform your space with creativity and confidence.
Key Takeaways
- DIY wall frames offer affordable and personalized home decor solutions
- Custom frames can dramatically transform living spaces
- No prior crafting experience is required to create beautiful displays
- Creative wall displays reflect individual personality and style
- Proper planning and technique ensure professional-looking results
Essential Tools and Materials for DIY Wall Frames
Starting a DIY wall frames project needs careful planning and the right tools. Whether you’re making wooden wall art or picture frames, the right tools make it fun and easy.
Before starting your DIY wall frames project, let’s look at the essential tools and materials. They help turn your creative idea into something real.
Fundamental Tools for Frame Making
To make beautiful wooden wall art, you need a good toolkit. Here are the key tools every DIY lover should have:
- Tape measure (for precise measurements)
- Set square (ensuring perfect angles)
- Pencil (for marking cuts)
- Power drill (most versatile tool)
- Saw (circular or table saw recommended)
- Sander or sandpaper
- Safety equipment:
- Safety goggles
- Ear defenders
- Work gloves
Materials for Picture Frame Crafts
Choosing the right materials is key for professional-looking DIY wall frames. Here are the essential parts:
- Wood selection:
- Poplar (3/4, 1/2, and 1/4 inch thicknesses)
- Vic Ash hardwood
- Supplementary materials:
- Glass or acrylic
- Backing board
- Mounting card
- Hanging hardware
- Wood glue
- Brad nails
- Finishing products (stain, varnish)
Pro tip: Invest in quality tools for many projects. Don’t buy very cheap power tools, as they can make projects harder and more frustrating.
Planning Your DIY Wall Frames Project

Creating a stunning gallery wall design needs careful planning and creativity. Your DIY art project can make any room look great without spending a lot. Before starting, think about how your budget-friendly art will fit with your decor.
When designing your creative wall displays, consider these key factors:
- Measure your wall space precisely
- Select artwork that reflects your personal style
- Choose complementary frame styles
- Plan your color palette
The secret to a cohesive gallery wall is balance. Mix different art styles and sizes for visual interest. Experts say to include 1-3 larger pieces with smaller artworks. For a professional look, repeat colors 2-3 times in your display.
Frame selection is key in your design. Use 2-3 different frame finishes like wood, metal, and neutral tones. A custom DIY frame approach can save money and let you be creative.
Pro Tip: Custom mats typically cost between $10-$30, making them an affordable way to elevate your gallery wall design.
Don’t just stick to traditional artwork. Add depth and intrigue with dimensional pieces like ceramic hangings, mirrors, or sconces.
Step-by-Step Frame Construction Process
Making DIY wall frames needs precision and patience. Whether you’re making wooden wall art or a custom display, knowing the construction steps is crucial for great results.

Start your wooden wall art project by gathering your tools and materials. The construction process has several key steps. These steps will turn raw materials into beautiful wall frames.
Precise Wood Cutting Techniques
Accurate measurements are the base of successful DIY wall frames. Follow these important cutting steps:
- Measure your desired frame dimensions twice
- Use a miter saw for clean 45-degree corner cuts
- Mark cutting lines with a pencil for precision
- Wear safety goggles during cutting processes
Frame Assembly Strategies
Assembling your wooden wall frames needs careful attention. Here are some construction tips:
- Apply wood glue to mitered corners
- Use clamps to hold corners together while drying
- Reinforce corners with brad nails for extra stability
- Allow glue to dry completely before further handling
Surface Preparation Techniques
The final step in your DIY wall frames is surface preparation. Smooth surfaces make your wooden wall art look professional. Sand each frame section carefully, starting with coarse-grit sandpaper and then fine-grit for a polished finish.
Pro tip: Clean away any sawdust with a tack cloth before applying your chosen finish. This ensures a clean and professional finish in your construction project.
Creative Finishing Techniques
Make your DIY home decor project stand out by trying new finishing techniques. These can turn simple picture frames into beautiful wall art. The right finish can make your art look like it was done by a pro, showing off your style.
There are many exciting ways to finish your frames:
- Paint Techniques: Pick from solid colors, ombré, or distressed looks
- Wood Staining: Show off the wood grain with deep, rich tones
- Decorative Treatments: Try fabric wrapping or decoupage
For a pro look, try these budget-friendly art tips:
- Fill nail holes with matching wood putty
- Sand surfaces before applying finish
- Apply thin, even coats of paint or stain
- Wait long enough for each layer to dry
Use watered-down craft paint and wood stains like Kona to change your frames. With just a weekend and some creativity, you can make unique wall decor. It’s affordable and shows off your style.
Mounting and Display Solutions
Creating stunning wall hanging ideas is more than just making beautiful frames. It’s about using the right mounting techniques and arranging them thoughtfully. The choice of hanging hardware and display method can make your DIY project stand out.

Hanging Hardware Selection
When mounting your frames, consider these crucial factors:
- Frame weight determines hardware selection
- Wall material impacts mounting method
- Frame size influences hanging technique
For lightweight frames under 5 pounds, adhesive command strips are perfect. Heavier frames need stronger solutions like:
- Traditional picture hooks
- Wall anchors for drywall
- Specialized gallery hanging systems
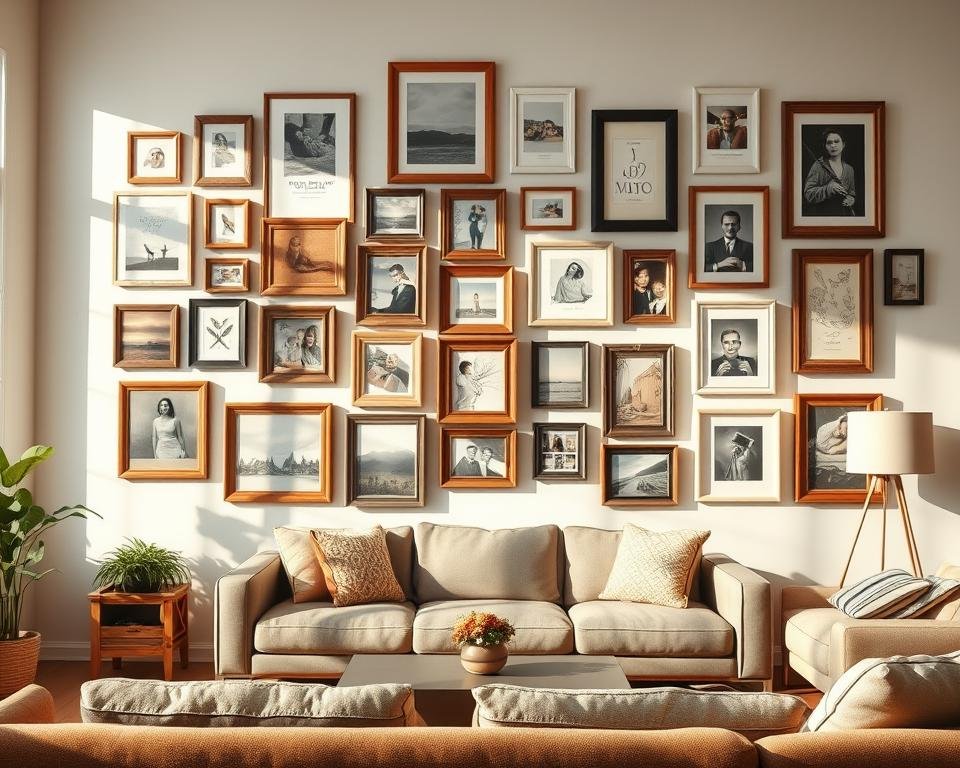
Gallery Wall Design Principles
Designing an eye-catching gallery wall needs careful planning. The gap between frames should be about 5 cm. This creates space while keeping the look cohesive.
Pro tip: Use kraft paper to map out your gallery wall arrangement before hanging frames permanently.
Display Arrangement Strategies
Try these creative wall display techniques:
- Symmetrical grid layouts
- Asymmetrical organic clustering
- Vertical or horizontal linear arrangements
Remember to balance frame sizes, colors, and styles for a harmonious look. Your gallery wall should show your personal style while being cohesive.
Personalizing Your DIY Wall Frames
Make your DIY home decor project stand out by adding personal touches. Repurposed frame projects let you show off your creativity and style. Look for unique materials to give old frames a new life.
Here are some creative ways to personalize your DIY wall frames:
- Incorporate unexpected materials like vintage buttons, seashells, or metallic embellishments
- Experiment with distressing techniques to create a vintage or rustic look
- Use fabric wrapping to add texture and personality
- Integrate family mementos or special keepsakes into your frame design
When working on repurposed frame projects, think outside the box. Thrift stores are great for finding unique frame bases. An 8″ x 10″ frame has outside measurements of 10 1/16″ x 12 1/16″, giving you lots of space for creativity.
Pro tip: Choose materials that reflect your personal style and tell a story!
Your DIY home decor project doesn’t have to cost a lot. With a bit of imagination, you can turn simple frames into beautiful art pieces. The most memorable frames are those that show off your unique personality and creativity.
Conclusion
Your journey into DIY wall frames is more than a home decor project. It’s a chance to make your living space special with displays that show your personality. By making your own frames, you learn new skills and create art that tells your story.
DIY home decor is all about being flexible and always improving. You can use thrifted frames or make new ones, growing more confident and creative with each project. Frames come in sizes from 8×10 to 20×24 inches, perfect for amazing gallery walls.
Think of this project as the beginning of your home improvement journey. The skills you gain can be used in many rooms, adding your personal touch. Your skills in making frames, painting, and arranging will help you tackle bigger projects later.
Enjoy the journey and be proud of your unique wall displays. Your DIY frames are more than decorations. They’re your artistic vision and personal style.