Repotting Techniques Guide for Container Plants
Every plant has its own story. Sometimes, it whispers the need for a new home. In container gardening, repotting is more than a task, it’s an art of caring for your plants.
Container gardening lets you create vibrant spaces in small areas. Repotting techniques guide your plant care journey, keeping your plants healthy and strong.
Knowing when and how to repot is key for plant health. Whether you’re experienced or new, learning container gardening will enhance your green spaces. It helps your plants grow to their best.
Key Takeaways
- Recognize signs that your plants need repotting
- Choose the right pot size for optimal growth
- Time your repotting during active plant growth periods
- Use well-draining potting mix for best results
- Handle plants gently to minimize transplant shock
- Monitor watering and sunlight after repotting
Understanding the Signs Your Plants Need Repotting
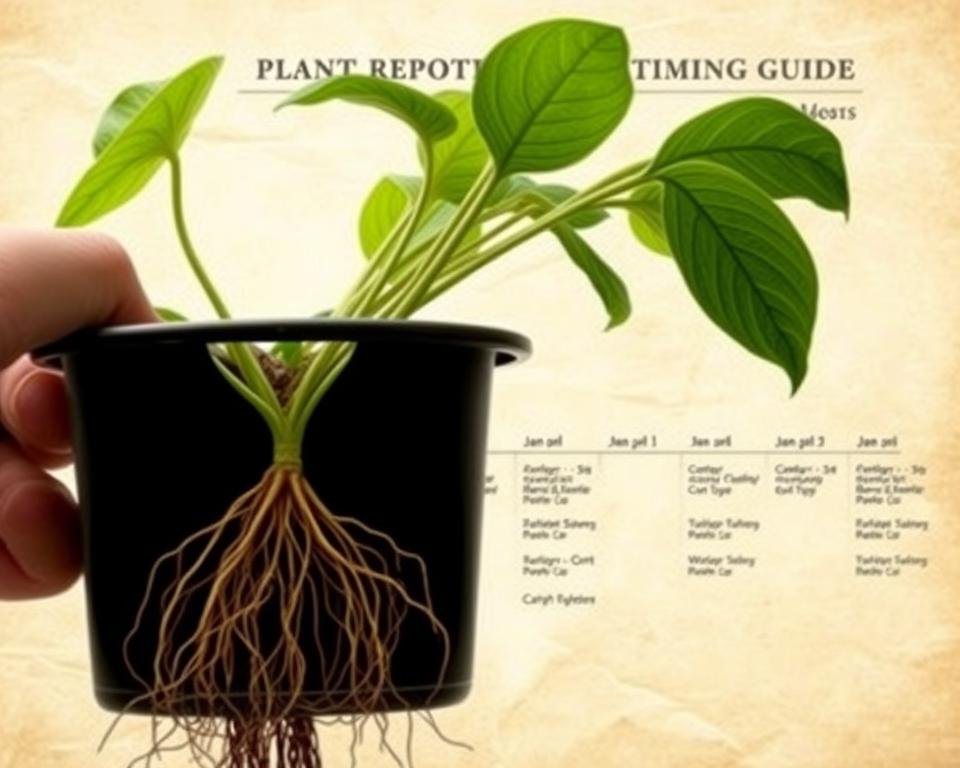
Knowing when to repot your plants is key for their health and growth. Plants show they need a new home through signs that gardeners can spot. These signs are important for keeping your plants happy and healthy.
Root System Indicators
Your plant’s roots are the best way to know if it needs a new pot. Look out for these signs:
- Roots emerging from drainage holes
- Roots circling the surface of the soil
- Dense, compacted root system with little soil visibility
Growth and Health Signals
How your plant grows can tell you a lot about its needs. Watch for these signs:
- Stunted or slowed growth during active growing seasons
- Yellowing lower leaves
- Top-heavy plant structure
- Plant appears disproportionate to current container
Watering Pattern Changes
Changes in how your plant absorbs water can be a warning. Keep an eye out for these signs:
| Watering Indication | Potential Issue |
|---|---|
| Water runs straight through pot | Roots are compressed, blocking water absorption |
| Soil dries out extremely quickly | Roots have overtaken available soil space |
| Requires more frequent watering | Potential root-bound condition |
Experts say to check your plants every year and watch for these signs. Transplanting them on time can help them grow strong and healthy.
Best Timing for Container Plant Repotting
Learning how to repot plants starts with knowing when to do it. The best time is usually early spring or when plants start growing again. This helps them recover and grow well with less stress.

- Observe your plant’s growth rate and overall health
- Check for roots emerging from drainage holes
- Monitor water absorption patterns
- Inspect the plant’s general vigor
Each plant type has its own repotting needs. Fast-growing plants might need to be repotted every year. Slower-growing plants can stay in their pots for 2-3 years. Here’s what to do:
- Repot 2-3 weeks after getting a new plant
- Choose early spring for main repotting
- Pick a pot 1-2 inches bigger in diameter
- Make sure it has good drainage and fresh soil
Experts say wait 24 hours after repotting before watering. This lets roots adjust and reduces shock. Some stress is okay, but careful care helps avoid harm.
Essential Tools and Materials for Successful Repotting
Getting ready for repotting needs careful planning and the right tools. The tools, containers, and potting mixes you choose can greatly affect your plant’s health and growth.

Choosing the right container is key for your plant’s growth. When picking a new pot, keep these points in mind:
- Size: Pick a container 1-2 inches larger for small plants, 2-4 inches for bigger ones
- Material options:
- Plastic: It’s light and keeps moisture well
- Ceramic: It looks good and controls moisture moderately
- Terracotta: It’s great for letting water drain and air in
- Make sure it has enough drainage holes to avoid root rot
Essential Repotting Tools
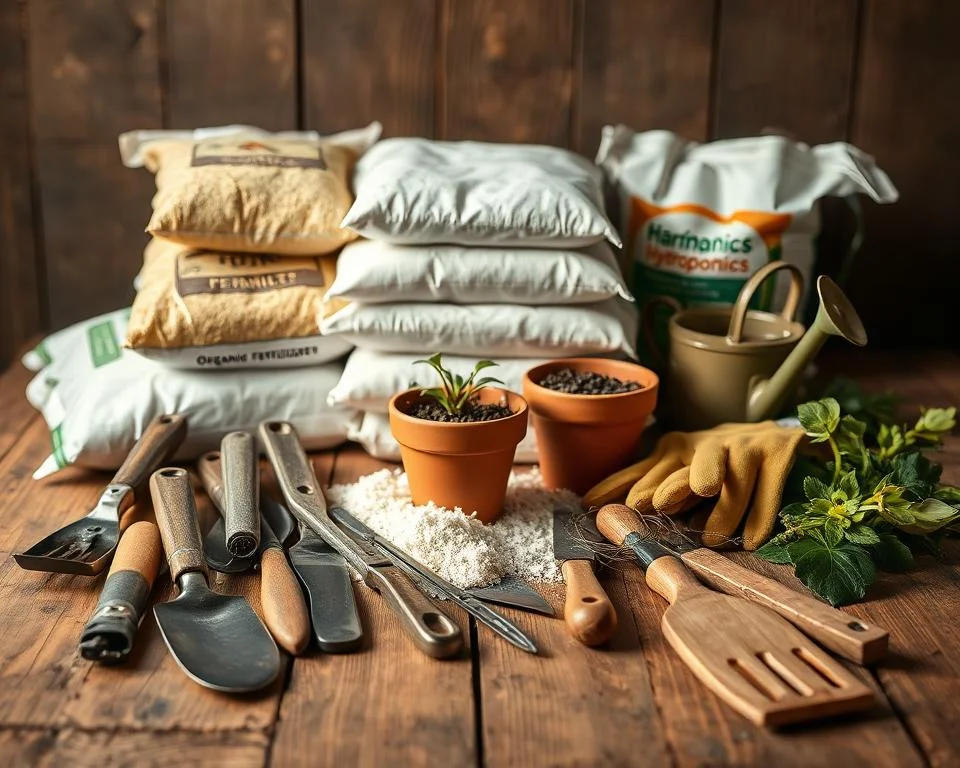
Your repotting toolkit should have a few important items. They help make the process easier and keep you and your plants safe:
- Gardening gloves for protecting your hands
- Clean, sharp pruning shears
- A potting bench or a safe work area
- A trowel or small shovel
- Newspaper or a drop cloth for easy cleaning
Drainage and Soil Amendments
Good drainage is vital for your plants to grow well. Use soil amendments like perlite, orchid bark, and coarse sand to improve your potting mix. These help the soil structure, stop waterlogging, and keep roots healthy.
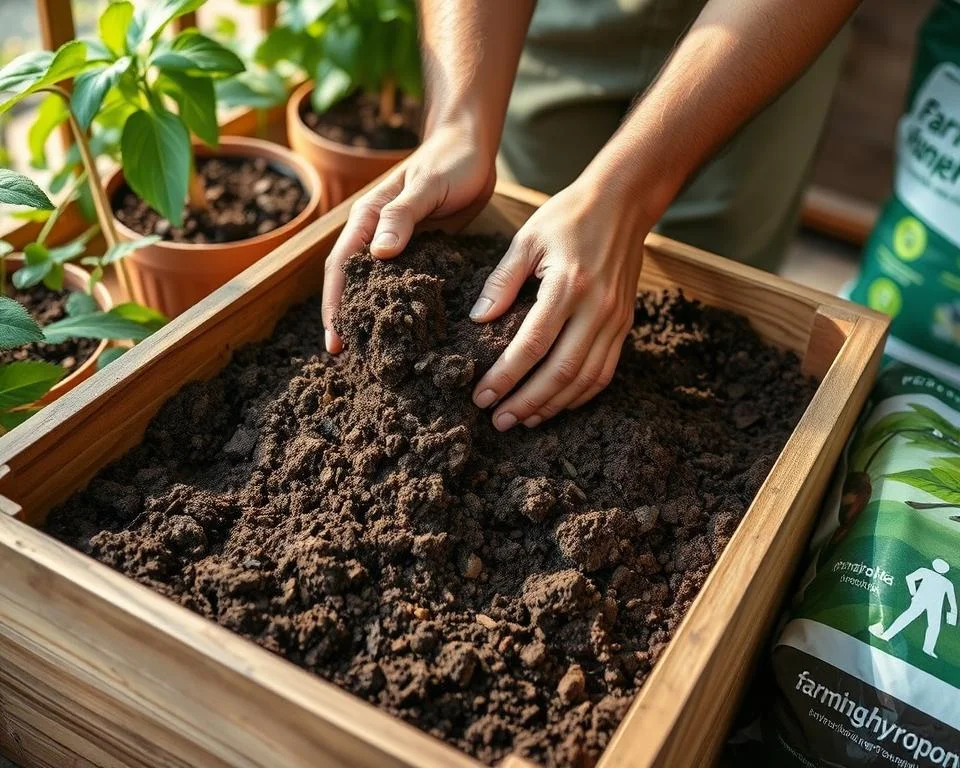
Invest in top-notch potting mixes made for container gardening. Choose blends that have the right mix of nutrients, air, and moisture. Remember, the right soil is as important as the pot itself.
Repotting Techniques Guide
Learning how to repot plants is key for keeping them healthy. Whether you’re new to gardening or have lots of experience, knowing how to transplant plants right can really help your plants grow well.
Before you start, make sure you have everything you need. Here’s a detailed guide to help you repot your plants the right way:
- Preparation: Water your plant 24 hours before repotting to ensure optimal moisture levels
- Select a new pot 2-3 inches larger than the current container
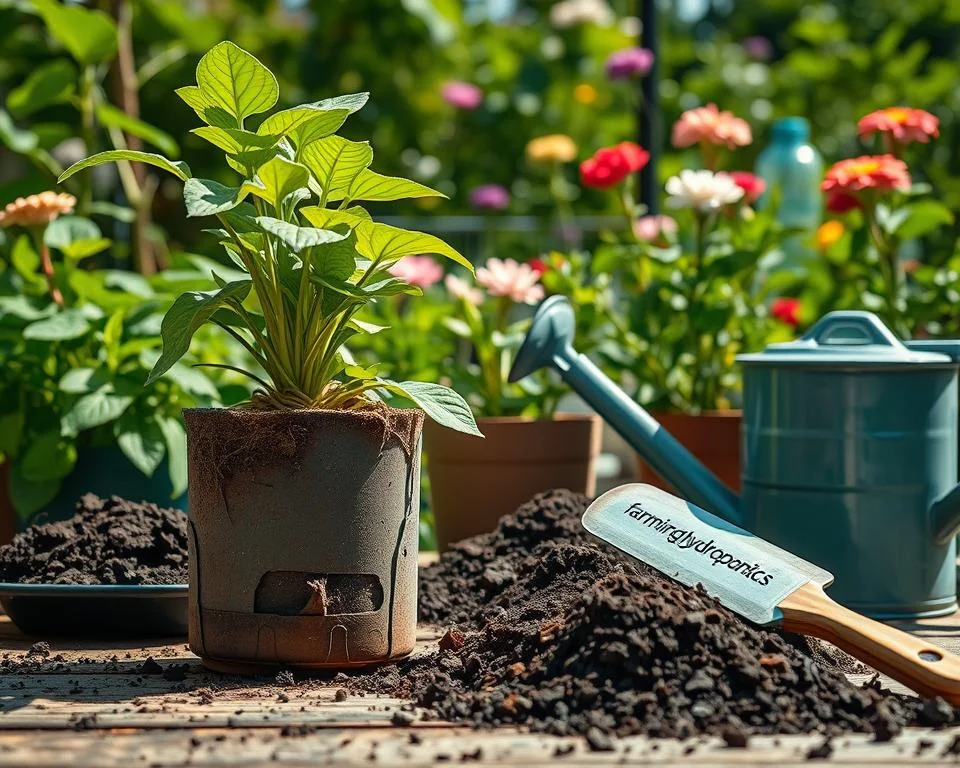
- Gently remove the plant from its existing pot
- Inspect roots and carefully perform root pruning if necessary
- Add fresh potting mix to the new container
- Position the plant centrally and fill with additional soil
- Water thoroughly to help the plant settle
Experts say to follow these steps when your plant is growing fast, usually in spring or early summer. This guide helps your plants stay calm during the move.
| Repotting Stage | Key Considerations |
|---|---|
| Root Inspection | Remove damaged or circling roots |
| Soil Preparation | Use fresh, nutrient-rich potting mix |
| Watering | Water carefully to avoid overwatering |
Success in repotting comes from being gentle and knowing what your plant needs. Each type of plant might need different care when you move it.
Proper Soil Selection and Preparation
Starting a container garden means picking the right potting mixes and soil amendments. Knowing what each plant needs helps create a garden that thrives. This ensures your plants grow well in the best conditions.

Soil Mix Components for Healthy Growth
Each plant needs a special mix to grow well. Here are the main parts to think about when making your soil:
- Peat-based mixes for most indoor plants
- Sandy, porous mixes for succulents and cacti
- Specialized blends for orchids and bromeliads
- Organic matter for nutrient enhancement
Creating an Effective Drainage Layer
Drainage holes are key to stop root rot and keep plants healthy. Here’s how to set up your containers:
- Use pebbles or broken terracotta pieces at the pot’s bottom
- Ensure at least 1-2 drainage holes in each container
- Select well-draining potting mixes that prevent water logging
Nutrient Enhancement Methods
Soil amendments are vital for plant nutrition. Organic compost, worm castings, and slow-release fertilizers make your soil rich and powerful.
“The secret to robust plant health lies in understanding and meeting their specific soil requirements.” – Professional Gardener
Every plant has its own soil needs. Try different mixes and see how your plants do. This way, you’ll find the best mix for their growth.
Post-Repotting Care and Maintenance
After repotting your plants, it’s important to take good care of them. The first few weeks are key for them to adjust well to their new home.
Start by placing your plant in a shaded area. This helps reduce stress and lets the roots settle into the new soil.
- Limit direct sunlight exposure for 2-3 weeks after repotting
- Maintain consistent watering schedules without overwatering
- Monitor plant for signs of transplant shock
- Avoid fertilizing immediately after repotting
Watering is crucial after repotting. Water your plant when the top inch of soil feels dry. Plants may need less water at first. Look for signs like wilting or soft leaves.
Experts suggest a gentle care routine for the first month. Check the roots and make sure the soil drains well. About half of plants may show stress, but it usually goes away with good care.
Remember: Patience is key in plant care after repotting.
By following these tips, your plants will adjust well and keep growing in their new homes.
Common Repotting Mistakes to Avoid
Learning how to repot plants well means knowing the common mistakes. Many gardeners unknowingly harm their plants by making simple errors. These mistakes can greatly affect how well plants grow and live.
One big mistake is overpotting. About 1 in 3 gardeners pick pots that are too big. This can lead to root rot. Experts say to only increase the pot size by 2-4 inches. You want a pot that gives roots room to grow without holding too much water.
Timing and Size Challenges
When to repot is very important. 75% of plants struggle after being repotted, showing signs like wilted leaves. Most plants do best when repotted in spring or early summer. It’s best to wait 1-2 weeks after getting a new plant before repotting.
Root and Soil Management
Handling roots wrong can really hurt your plant. 60% of gardeners don’t remove old soil, causing nutrient problems. When repotting, carefully loosen roots and use good potting mix for your plant. Watching root growth and picking the right soil is key for healthy plants.
Watering and Post-Repotting Care
Watering right after repotting is crucial. 50% of gardeners water too soon, harming their plants. Experts say to wait 4-6 weeks before fertilizing to help roots settle. Every plant is different, so watch how yours reacts and adjust care as needed.


