Drip Irrigation Setup for Container Gardens
Keeping container plants watered can be tough. I found a solution in drip irrigation setup during a hot summer. My potted herbs were wilting fast, but this method changed everything.
Drip irrigation makes watering plants easy and efficient. It delivers water right to the soil, where it’s needed most. This method is perfect for any size garden, big or small.
Drip irrigation saves time and water, and it keeps plants healthy. It’s simple to set up and customize. You’ll never have to guess when to water again.
Key Takeaways
- Drip irrigation provides targeted water delivery for container gardens
- Systems can be installed by beginners with minimal tools
- Prevents overwatering and reduces water waste
- Improves overall plant health and growth
- Budget-friendly solution for container gardening
Understanding Drip Irrigation Basics and Benefits
Container gardening can be tricky, mainly because of watering. Drip irrigation is a game-changer for those who want to save water and care for their plants better.
Drip irrigation sends water straight to the roots, cutting down on waste and boosting efficiency. It’s a new way for gardeners to water their plants.
What is Container Drip Irrigation?
Container drip irrigation is a system that waters plants slowly and directly. It uses tubes, emitters, and connectors to give plants the right amount of moisture.
- Delivers water slowly and precisely
- Reduces water evaporation
- Minimizes plant leaf moisture
- Customizable for different container sizes
Advantages of Drip Systems for Potted Plants
Potted plants do great with drip irrigation. Consistent moisture levels help them grow strong and healthy. You can set up watering schedules that fit each plant’s needs.
Water Conservation Benefits
Drip irrigation is a big win for saving water. Studies show it can cut water use by 50% or more. It sends water right to the roots, saving water and helping the planet.
| Irrigation Method | Water Savings |
|---|---|
| Traditional Sprinklers | 0-20% |
| Drip Irrigation | 30-50% |
Using a drip irrigation system changes how you garden in containers. It brings precision, efficiency, and big water savings.
Essential Components and Materials Needed

Creating a drip irrigation system for your container garden needs the right materials and tools. Knowing the components is key to a good watering system for your plants.
To start, gather these essential tools:
- Pruning shears or pipe cutter
- Hole punch for drip tubing
- Measuring tape
- Shovel or trowel
- Hammer (for ground stakes)
Your system will need specific materials to work well. Important parts include:
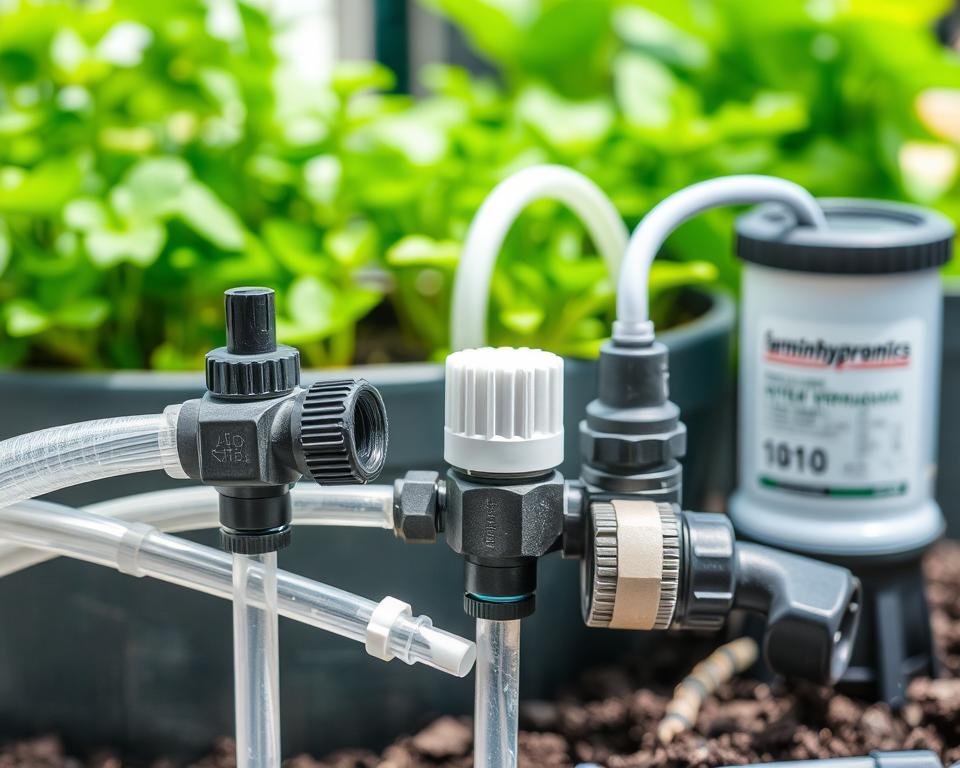
- Drip tubing: Usually ½-inch and ¼-inch polyethylene
- Water pressure regulators for steady water flow
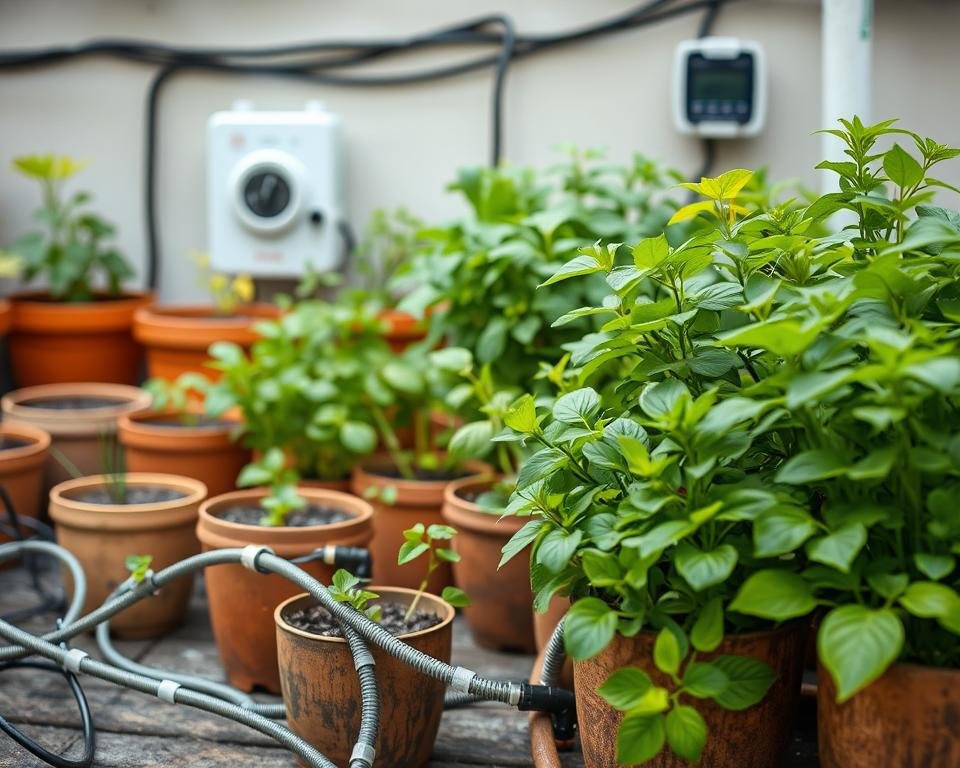
- Irrigation controllers for automatic watering
- Drip emitters with different flow rates
- Backflow preventer
- Connectors and fittings
- End caps
- Filter
- Ground stakes
Choosing the right drip emitters is vital for your garden. Some release ½ gallon per hour, while others can give 1-2 gallons. Your choice depends on your plants and soil type. Sandy soils need high-flow drippers, while clay soils prefer low-flow ones.
Water pressure regulators are key for good irrigation. They should work between 15 to 30 psi. This ensures water is evenly distributed in your garden.
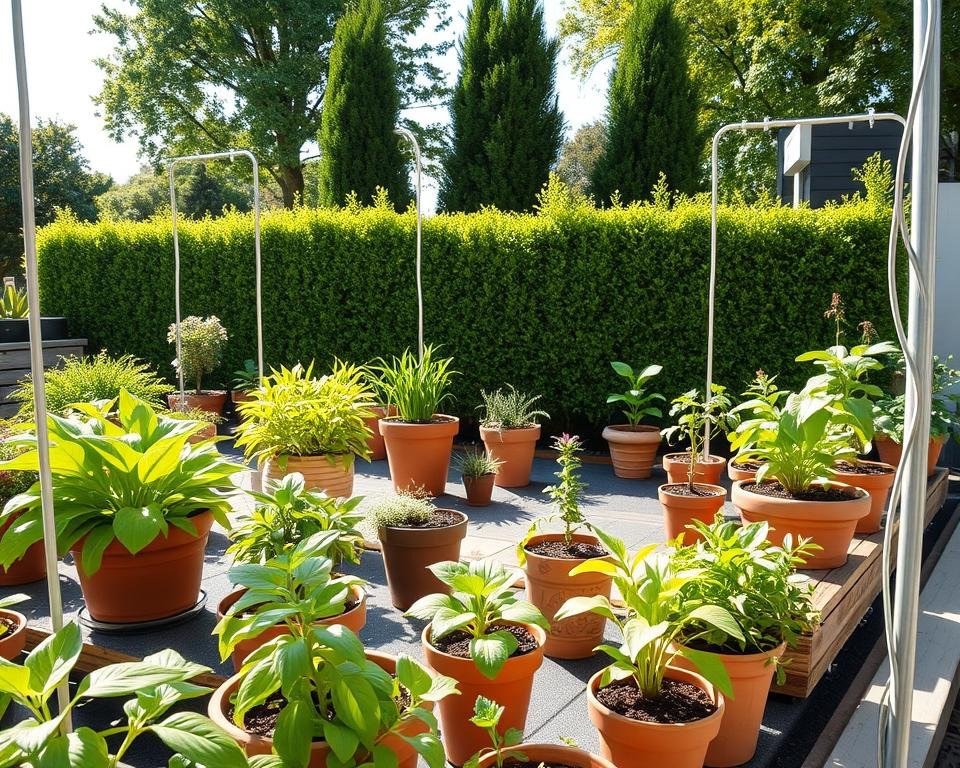
Planning Your Container Garden Layout
Starting a drip irrigation system needs good garden planning. Your container garden’s layout is key for water use and plant health. By planning your space well, you make sure each plant gets the right amount of water.

Creating a good drip irrigation system takes thought. DIY fans can make their gardens better by knowing how to arrange plants and figure out water needs.
Mapping Water Sources
Finding your main water source is the first step in designing a drip irrigation system. Look for outdoor faucets or water connections near your garden. Think about these important points:
- How close it is to your garden
- If it has enough water pressure
- If it can grow with your garden
Calculating Water Requirements
Knowing how much water each plant needs is key. Soil moisture sensors help adjust your watering. Most veggies need about 1 inch of water a week, but it depends on the plant and weather.
Grouping Plants by Water Needs
Put plants with the same water needs together. This makes your drip system more efficient. Pro tip: Group plants by how much water they need to make watering easier.
- Put high-water plants together
- Keep drought-tolerant plants apart
- Think about sun and soil too
By planning your garden layout well, you’ll save water and help your plants grow strong.
Drip Irrigation Setup: Step-by-Step Installation
Starting your drip irrigation setup is easy. You’ll need some basic gardening supplies and a container garden ready for efficient watering. The whole process is simple, with a skill level of 1 out of 5. It should take about 2 hours to set up your drip irrigation system.
First, attach the backflow preventer to your outdoor faucet. Make sure it’s connected tightly to avoid water contamination. Then, add the pressure regulator to keep the water pressure between 15 to 30 psi. Don’t forget to include a filter to stop debris from clogging your system.
For your tubing, use ½-inch polyethylene for the mainline and ¼-inch micro-sprayers for your container garden. Place stakes every 2-3 feet to keep the tubing in place. Position emitters 6-12 inches from plant stems, using more for bigger plants. A digital timer can help automate your watering, set for three days a week.
Keeping your system in good shape is important. Check it monthly during the growing season and flush it out to remove debris. By following these steps, you’ll save up to 60% more water than traditional sprinklers. Your container garden will stay healthy and look great.


